Monday, 29 September 2014

The Golden Rule


Rule of Thirds or Golden Ratio

So, the first "golden" rule is the "Rule of Thirds" or "Golden Ratio". It affects the ratio (1:1.618) of a picture size, as well as the placement of the main subjects in the photo. This ratio is close to the 35mm ratio, so you don't need to change the size of the photo in most cases. But you need to consider the composition: main subject should lie on one of the four lines or four intersections (subject's eye for example). Truthfully speaking, these rules are not always the same. Rule of Thirds is a simplified version of the Golden Mean

Thursday, 18 September 2014

Lines & Angles


Vertical Image
In the image above the trees add height to the photograph, which can be used to add depth and influence the focus.


Horizontal image
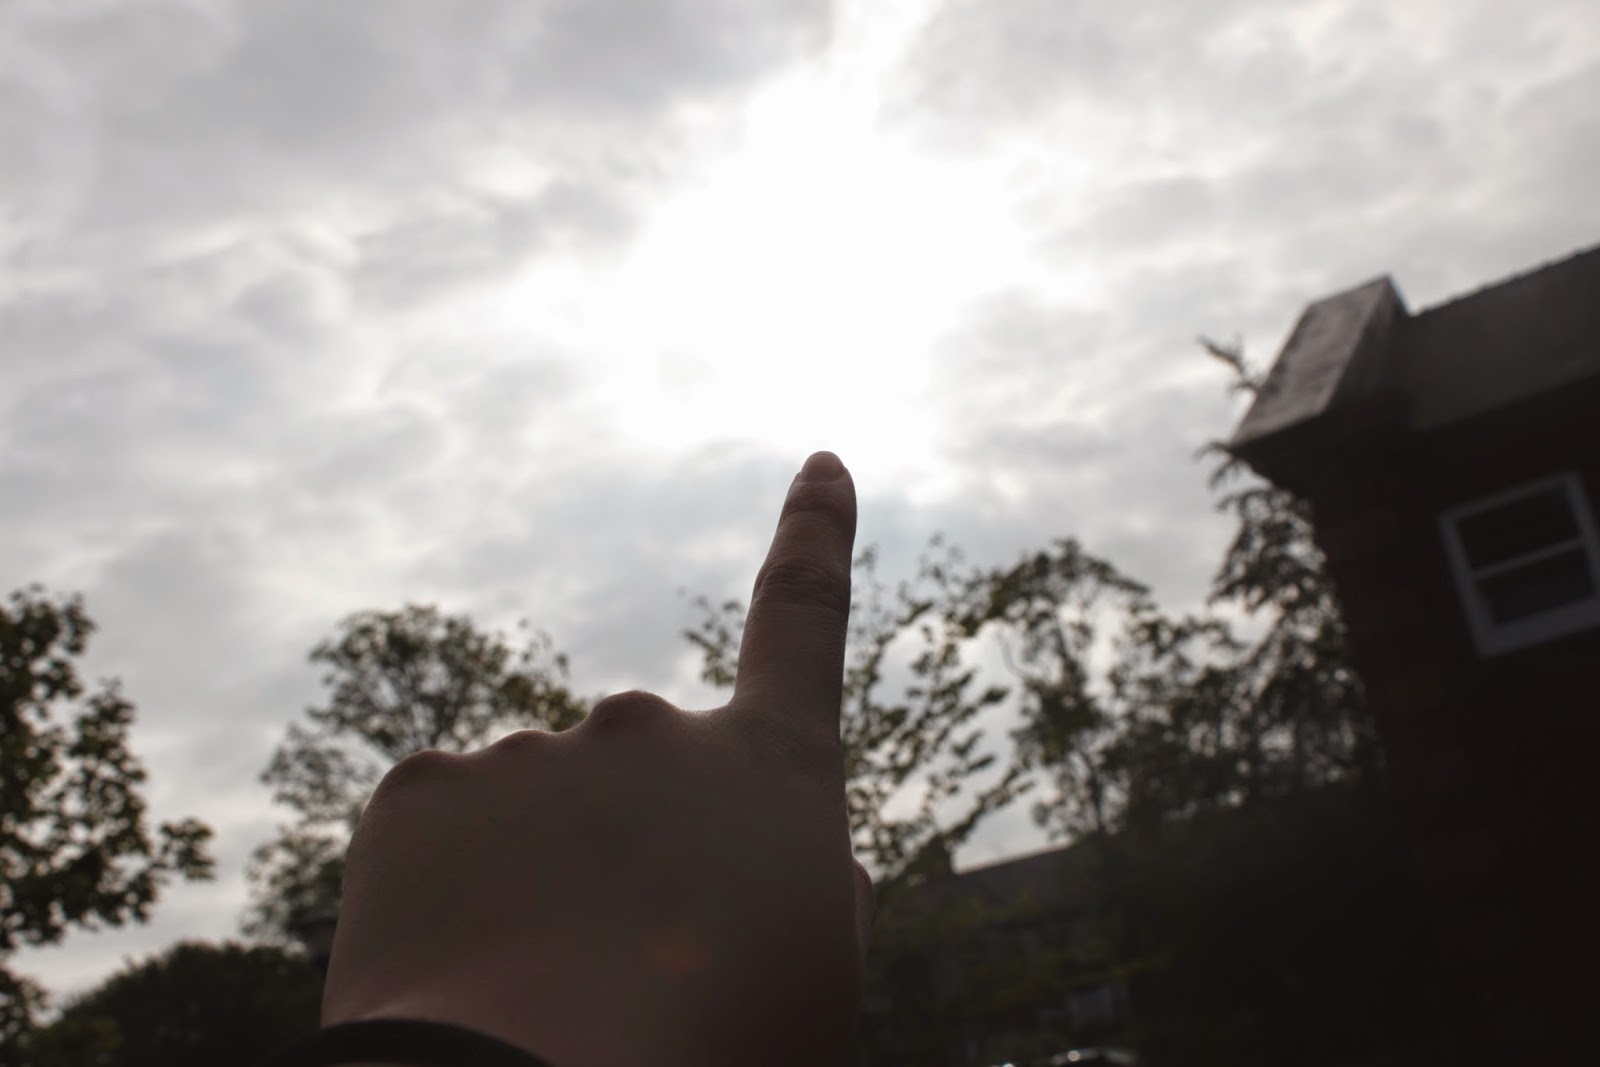
In the image above creates a sense of stability which gives off a restful emotion, for example the tree above looks as though is resting towards the sunlight


Line image


Alternative settings for exposure


Motion pictures


Thursday, 11 September 2014

Photo and Editing After

Having looked at my previous post you'll have noticed the differences between the original photograph and the edited image above. I have changed the scale of the original photo having turning my close up to an extreme close up, this is to focus on the detail of my subject. I cropped out the broader scenery and changed the filter to the HDR Toning, this is to create more of an aged look to the photograph.

This photograph is a wide shot and isnt much difference to the original. This is because whilst I took the picture I followed the rule of 3 to give me more of an accurate shot. The only difference to this photograph to the original is a light tweak of the colour balance to enhance the brightness of the green on the plants.

Tuesday, 9 September 2014

Photos And Editing Before


The photographs below were take using the rule of 3 method; using an SLR Cannon camera I used the focus lens to create a certain depth and focus on a subject.  Then after taking several photographs I chose a couple of my favourites and uploaded them to photoshop ready for editing.  (See other blog) 


Types of Camera shots

Extreme Close up

An extreme close up is a shot  so tight that only a detail of the photo, for instance someone's eyes can be seen. These are great shots to use for added suspense or to basically draw your audience closer to a specific feature or detail in a shot or scene.


Long shot

This type of shot features the subject far from the camera and as a result we see the area and environment around the subject, 
this shot is often used to show where the subject is located.

Wide shot

A wide shot is a way to show a large area or environment around a subject. Using a wide shot is to allow the audience to clearly see the immediate aream and environment around them.


Midshot

A mid shot is a photograph or film that is taken at a medium distance, as you can see in this photo the broader scene is visible and ypu can seen the woman's head and shoulders. 

Close Up

Close ups contain the most detail, but do not include the broader scene. The reasoning behind the usage of a close up is because its a type of common zooming as well as it being a way to tightly frame a person or object.